
RVs are equipped with so many more amenities today than they were years ago. Today’s modern RVs are outfitted with furnaces, thick insulation, heated tanks and valves, and other features that make year-round camping not only possible, but totally doable. But if you’re planning to venture out in the winter in your RV, or want to live in your RV full time, there are some weather-specific things you should be aware of. Here are some winter RV living tips to help make your cold-weather road trip a success!
Preparing and Setting Up Outside
There is some RV prep work that you need to do before you leave and when you reach your destination. These things will ensure that you make it there safely and that you have a comfortable stay! Let’s get started!
For the Drive
To make sure you have a clear view of the road in front of you, take care of your windshield! The easiest way to do this is by making sure you have a good supply of de-icing washer fluid. Not only will this fluid not freeze, but it cuts through built-up ice on your windshield, which can be hard to get off otherwise! Also, invest in snow or winter blades for wipers! These blades have a rubber coating around them that helps to push snow off the windshield. Regular blades have gaps where snow and ice tend to get stuck and create a bigger problem. They’re also sturdier than regular blades and can handle wet, heavy snow, so they’re less likely to get bent. Finally, the rubber itself is synthetic, so even when it’s freezing outside, the rubber stays soft and still does its job.

Next you want to protect your engine. First check and fill all your fluids. Make sure the mixture of your antifreeze is correct and there isn’t too much water in it. If the mix is more than 50% water, you run the risk of it freezing. And ice in your engine is nothing to mess around with! Go to your local automotive store and pick up a tool that makes it easy to check your fluids. Finally, if you’re traveling with a motorhome that has a diesel engine, make sure you add fuel stabilizer to it. This will keep the fuel from turning to gel, which will create issues with flow and combustion. Do this to your generator as well if it’s diesel.

If you’re heading into the mountains for your winter RV road trip, make sure you have chains on the tires of your vehicle and towable. Whether you actually have to use them or not, they’ll be good to have on hand in case of an icy, snowy emergency.

For The Site
When you arrive at your campground, remember these three words: location, location, location! Do the opposite of what you do in the summer and try to find a sunny site! This will help to keep your RV a few degrees warmer and could mean the difference between freezing and staying warm. Also, if you want to avoid using your RV’s tanks altogether, then try to get a campsite close to the campground facilities so when you have to make the trek to the bathroom, you don’t have to venture out too far in the cold.

Winterize your tanks and lines to protect them from the freezing temps! The winterization process involves running RV antifreeze through the lines and putting it into the tanks. This antifreeze is non-toxic and pink in color. Never use poisonous automotive antifreeze! You can never be 100% sure that it’s completely out of your tanks and lines when you open up your RV in the spring/summer and you could possibly ingest a small amount.

Protect your tanks and lines from freezing so you can use them! If you want to use your tanks because you’re either not a fan of campground bathrooms or you’ll be camping somewhere without facilities, there are some things you can do to keep the water flowing. It’s ok to put some antifreeze into the black and grey tanks, so pour some down the drains and into the toilet to protect them. Also, consider running insulation around the pipes that are exposed outside the RV to help keep them warm.
If you have a heated and enclosed underbelly and valves, it may not be enough to keep you warm inside. This is especially true if you want to try and avoid using the furnace, which we’ll talk about later in the “Warm and Cozy Inside” section. These heated areas are usually warmed via a duct from the furnace, so if you’re not using your furnace, they’re not getting heated. Mini space heaters can keep things warm in there when the furnace isn’t being used. Put one near the valves and another near the fresh water tank to keep both areas above freezing.

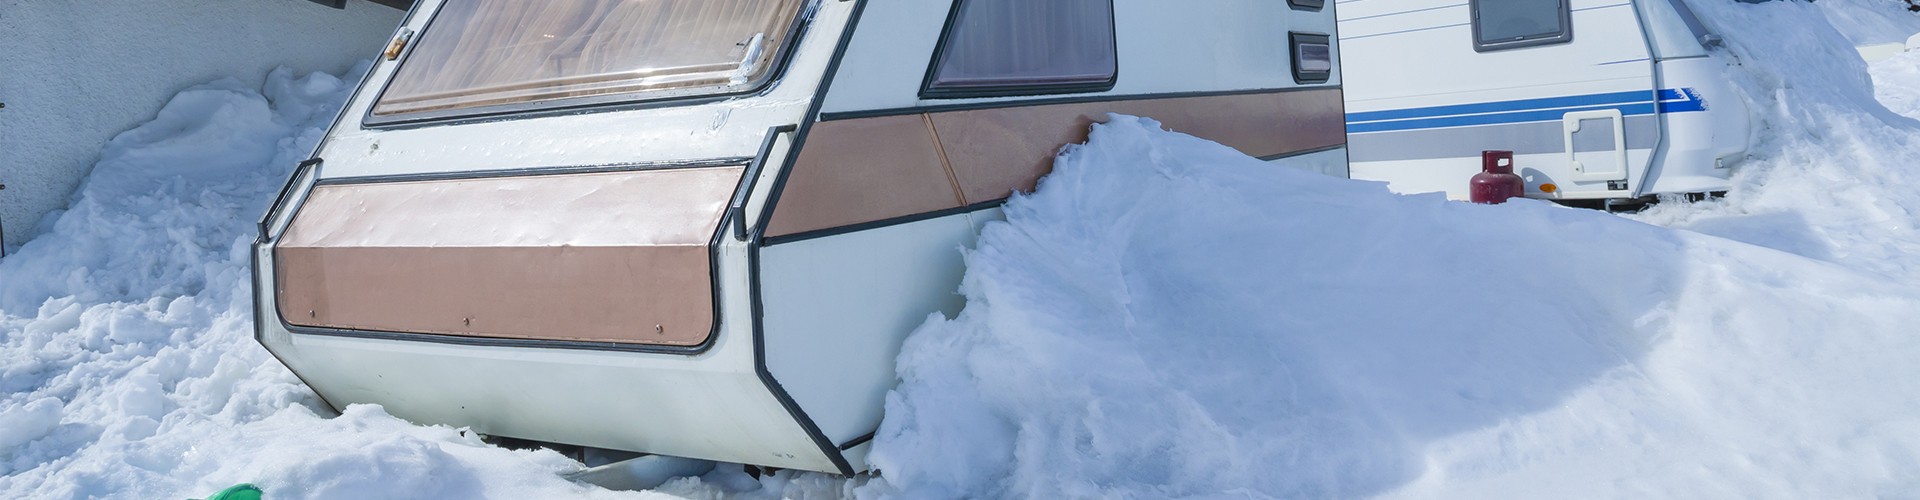
Once you’re all set up and warm and toasty inside, you want to keep it like that! Put RV skirting to work to help keep the cold and wind from blowing underneath your RV and creating a chill. If you don’t have skirting, use snow! Just build up a snowbank along the sides of your rig so that it keeps the wind off your pipes, valves, and tanks! Just be sure you don’t cover any exhaust outlets for things like the furnace and generator. Otherwise you could end up filling your RV with CO, which can be a deadly mistake.
Now that you have your tanks and valves ready, you have to think about getting the water in and out of your RV. If you plan to just fill your tank and unhook, then it’s pretty easy. Just make sure you get all the water out of the hose before you put it away and do not leave it out in the cold. The same goes for the sewer hose. If you want to stay hooked up however, you need to think about how you’re going to keep your hoses from freezing. First, consider purchasing heated hoses! Or you can easily make your own with some heat tape and insulation. For the sewer hose, it’s good to make sure you have a sturdy material. The typical hoses that come with the RV can become brittle in the cold and can crack easily. Using PVC is a much better option, as it will not bend or cause cracking. You can also wrap this in heat tape to ensure there’s no freezing going on inside of it.
You’ll find out in the next section that not using much propane is a good idea in the winter! So if you’re heading out to go boondocking and don’t have a generator to recharge your batteries, make sure you bring extra batteries along. Since you’ll be using more electricity than usual with the tips found in the next section, you want to ensure you have enough juice to keep everything going.

Finally, even if you plan on using no propane at all, fill up those LP tanks! Propane is a strange thing. It actually has what they call a boiling point of -44° F. This is when it starts to turn from a liquid to a vapor or gas. The reason that the propane in your tanks stays liquid is because the pressure in the tank doesn’t allow it to turn to gas. The less pressure there is, the more chance it can evaporate to a gas. It can then leak out of your tanks, and if you find yourself in a situation where you need it to keep warm or cook due to battery failure, you don’t want to find your entire LP supply gone.

Warm and Cozy Inside
Keeping the inside of your RV warm is what will allow you to stay comfortable. As you may have noticed in the last section, avoiding propane as much as possible is the best way to go. This is because propane creates moisture which can build up inside your RV. Not only can this freeze, but it can create mold and mildew growth inside your RV. Here are some ways you can still stay warm and cook your meals without propane!
Keeping your RV’s interior warm in the winter is best done with electric space heaters. These don’t create moisture like propane does, and they will help dry up moisture build-up from things like showers and breathing. They’re also less expensive to run than a propane furnace.

Just as the propane furnace will create a moisture build-up inside your RV, so will your stove! Bringing along alternate methods of cooking will help in this department. Consider cooking with electric griddles, portable electric cooktops, and crock-pots. You can also build a campfire and cook outside in the snow if you want to bundle up and spend time in the brisk, chilly air.

Insulating your windows will help to keep the heat in once you have your rig nice and toasty! The easiest and least expensive way to do this is with bubble wrap! Start by cleaning your windows as any dirt or dust will create issues with application. Then, all you have to do it cut your sheet of bubble wrap to the size of the window, spray some water on the bubble side, and then stick it to the window! The bubble design, along with the water, create somewhat of a suction against the window. The bubble wrap insulates but still lets much-needed sunlight in!

Finally, pack your RV with lots of blankets! This way when temps dip you can all snuggle together, sip some hot cocoa, and get cozy under the blankets. Electric heating blankets for the beds will allow you to turn the heaters down at night and conserve electricity!
What to Do if Your Tanks/Pipes Freeze
If you find that your water pipes or tanks are frozen, turn your water pump off! It will try to keep pumping the water and it could potentially burn out. Once it’s off you can worry about trying to get everything thawed out and moving again!
If the only frozen component is the inlet hose, then you’re in good shape. Sometimes it will be so frozen you can’t get it unscrewed. If you have a hair dryer (or better yet a heat gun), take it out and heat up the connections so that you can remove the hose. Then you can take the hose inside to thaw it out. If you have other pipes that have frozen up, the hair dryer may still help. It’ll be time consuming, but you can get outside and warm things up with the hair dryer there too.

If your tanks are frozen, you have a few options. The waste tanks are easy since you don’t use that water, so there you can dump as much antifreeze as possible in them and then go for a drive. The movement from the driving will help mix the antifreeze around in there and thaw things out. You can do this with the fresh water tank as well, you’ll just have to be prepared to clean out the whole fresh water system before you can use it again.
Another way to get tanks thawed without going the route of antifreeze is to get one of those metallic lamps with a clam and a reflector. Then just put in a 100W bulb and set the light so that it’s facing the tank. Make sure the light isn’t touching the tank itself as it may cause damage. If there isn’t enough space to get the lamp in there without it touching the tank, then use a lower wattage bulb.

If none of these tips are working, it may be time to fire up the furnace. This will send heat into the underbelly and start to thaw things out. Open the cabinets that have pipes in them so that the warmth easily reaches the pipes in there.
You have one last option to help thaw out your RV or to keep it from freezing in the first place. Head south! Finding a warmer climate that is above freezing will help to get all that ice thawed and keep it from accumulating. So head to sunny Florida, California, or to a beach in Mexico!
